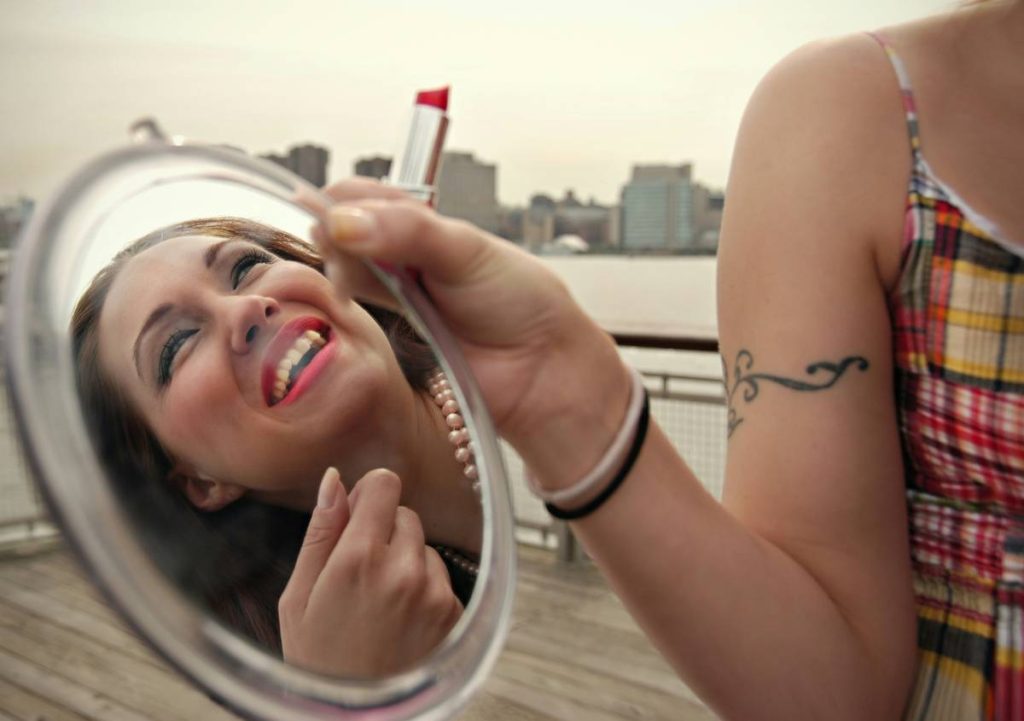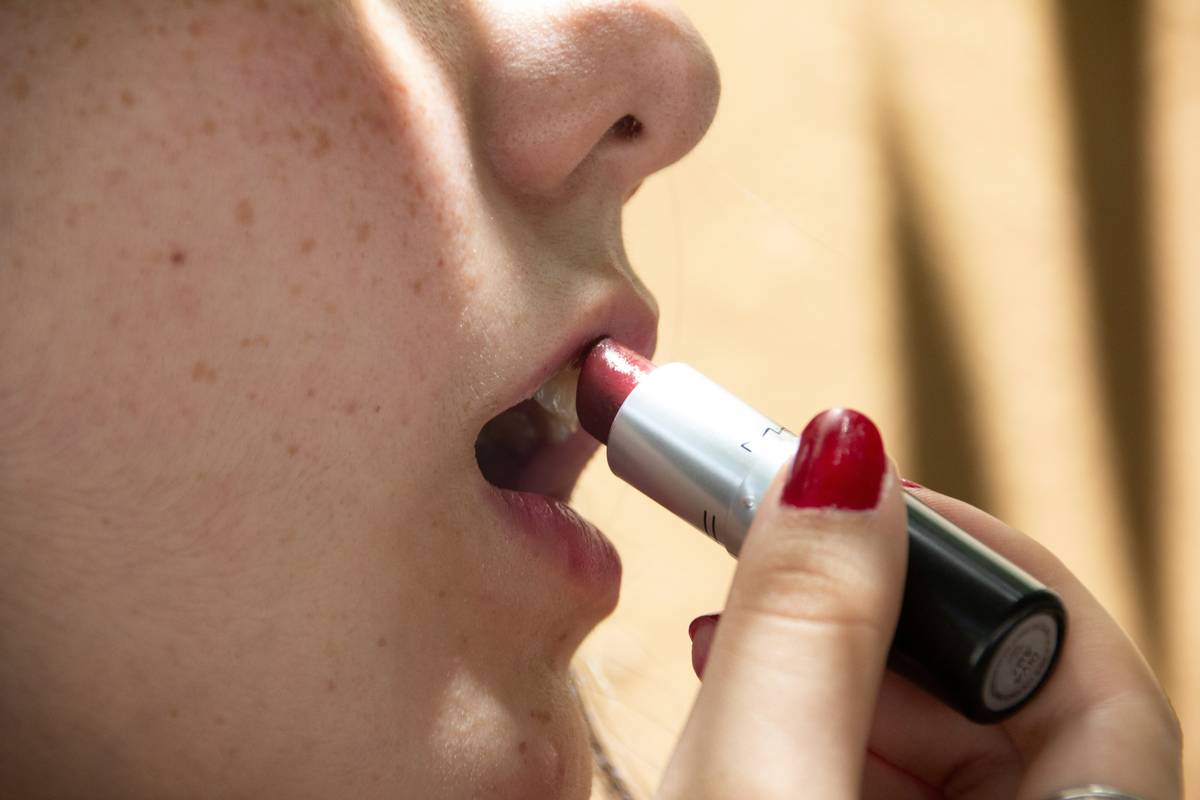
You bought that gorgeous lip crayon—vibrant, creamy, promises bold pigment in one swipe. But your lips look patchy by lunchtime. Or worse: harsh lines that scream “coloring outside the lines,” not “effortless chic.” You’re not doing anything wrong. The product itself is working against you—unless you know how to truly lip crayon blend.
Why Your Lip Crayon Never Blends Like the Pros’
Most lip crayons are formulated for precision—not diffusion. Their waxy cores grab onto dry patches and resist feathering. That’s great for tightlining, terrible for soft-focus dimension. And applying balm underneath? Disaster. It turns your pigment into a greasy smear that migrates into fine lines.
The real issue isn’t technique—it’s mismatched expectations. You’re treating a liner like a stain. That never ends well.
Step-by-Step Guide to a Flawless Lip Crayon Blend
Prep Without Over-Moisturizing
Exfoliate gently the night before. On application day, use a water-based serum (not oil or balm) on your lips. Pat dry. A slightly tacky canvas grips pigment without pulling.
Layer with Intention
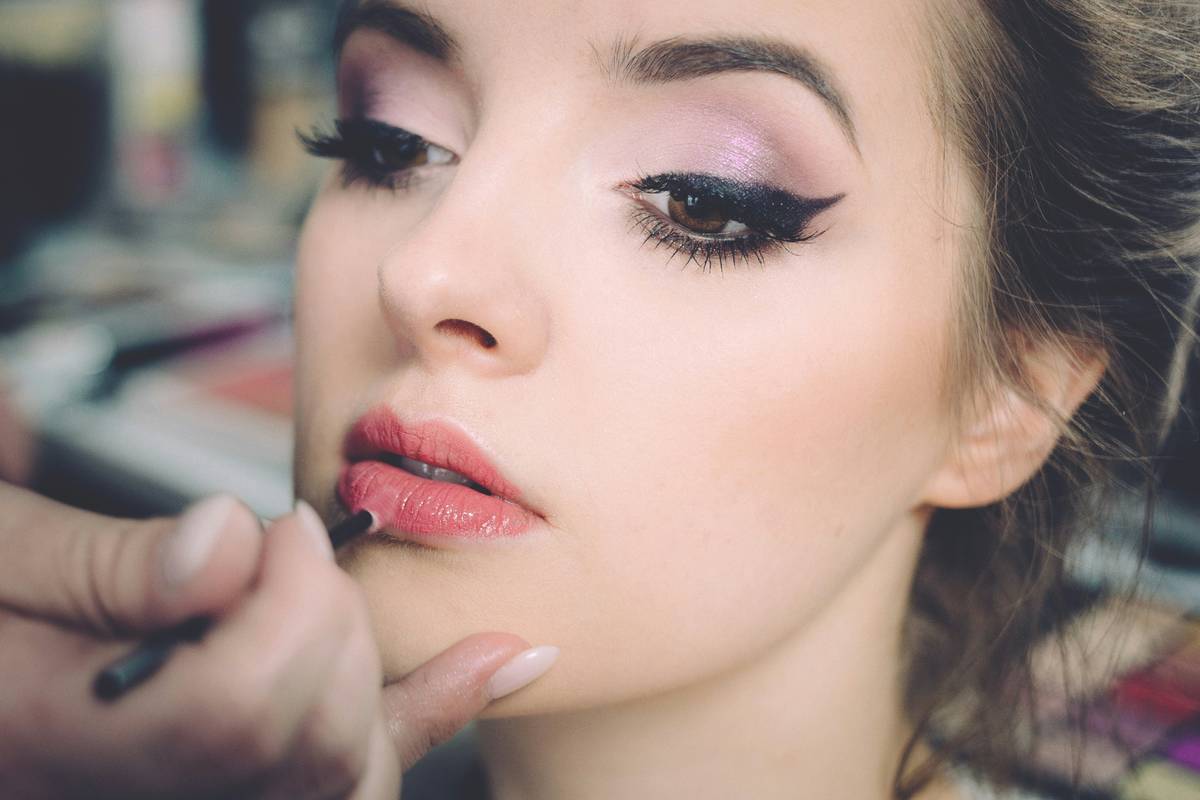
Outline first—but don’t stop there. Fill in the center using short vertical strokes. Then, before the wax sets, blend outward with your fingertip or a dense lip brush. Heat from skin melts the formula just enough for seamless edges.
Lock It—Don’t Seal It
Spraying setting mist? Skip it. Instead, press a tissue over your lips and dust translucent powder through it. This mattifies without cracking or dulling the color payoff.
| Blending Method | Longevity | Finish | Best For |
|---|---|---|---|
| Fingertip Heat Blend | 4–6 hours | Natural satin | Daytime, low-maintenance looks |
| Dense Lip Brush | 5–7 hours | Soft matte | Precise ombré or gradient effects |
| No-Blend (Straight Application) | 6–8 hours | Bold matte | Night-out definition, no diffusion |
The Industry Secret: Crayons Aren’t Just for Lining
Here’s what makeup artists won’t tell you: the best lip crayon blend often starts *outside* the lip line. Apply a neutral-toned crayon just beyond your natural border, then blend inward. It creates an optical illusion of fullness—without injections or gloss. And because crayons have less slip than liquid formulas, they stay put exactly where you place them. The math is simple: control + warmth = dimension. No filter needed.
Frequently Asked Questions
Can you blend lip crayon with gloss?
Only if you layer gloss *after* the crayon is fully blended and set. Adding gloss before causes patchiness and shortens wear time drastically.
Why does my lip crayon feel drying after blending?
Wax-heavy formulas strip moisture as they set. Always prep with hyaluronic acid serum—not occlusives—and avoid over-blending, which removes too much pigment.
Is lip crayon blend suitable for deep lip lines?
Yes—but use vertical strokes, not horizontal. Horizontal dragging settles pigment into creases. Vertical blending lifts and smooths the appearance.